
Intensity Zones
What is Intensity (relative difficulty)?
A grade v1 boulder problem for someone whose top Limit send is v1 is very intense. They will expend max energy sending this climb. But that same v1 is easy for a climber whose Limit is v10. The objective challenge of a climb is represented by the grade it’s given. But that grade does not tell you how challenging that climb will subjectively be for you. And understanding grades from the perspective of energy expenditure is helpful when trying to select climbs for a training session. If a coach asks you to work within your Hard Zone or your 70-90% for 10x attempts to build strength and capacity, how do you know which climbs fall into that range? KAYA’s Intensity measure personalizes a climb's difficulty relative to energy expenditure for you.

How are Intensity Zones calculated?
KAYA determines your 90% effort and maps climbs above and below that 90%. KAYA then breaks those grades into Intensity Zone bands based on the difficulty the grade represents for you. KAYA looks at your logging history and selects your 3 hardest sends sent in 3 sessions or fewer over the last 90 days. This establishes your 90% of Max.
Intensity Zones:
Easy - Warmup = 0-40% 1rm
Moderate - First Try = 40-70% 1rm
Hard - 1 session = 70-90% 1rm
Limit - 3+ sessions = 90-100% 1rm
How do I find climbs using Intensity?
KAYA PRO subscribers can use a filter button on all galleries and climb lists. Simply select the Intensity filter and choose the Intensity Zone you wish to find climbs in. When you tap “View Results,” the climbs on the list will be organized by the zone you selected. For instance, if your workout demands climbs that are 70-90% of your Limit, select the “Hard” filter and the climbs shown on the results list will fall into that zone for you.
How and where in KAYA PRO is Intensity Visualized?
Logbook:
At the Session Logbook level you will see several charts that break your climbing Volume (reps aka attempts) into Intensity Zones so you know how much work you did in each zone. The list of climbs below the visualization also graphically shows the Intensity Zone for each climb.

Activity Performance Tab:
Your Analytics and Climb History summaries are also broken down into Intensity Zones. Note that the Workload summary shows you how much work you did per zone over the time period. This helps you measure capacity gains that target the desired energy system. The Velocity summary also breaks the number of attempts or sessions needed to send a climb of a grade into Intensity Zones. This helps you understand aspects of your training and progression, like how fast you will send Hard projects at your current form. Or, for instance, if you want to be at peak fitness for an upcoming trip, you can use Velocity and Intensity to find climbs you can send in a session or two based on your performance history.

How do I use Intensity?
Time spent climbing in each specific Intensity Zone will elicit very different results. You can use Intensity Zones to get stronger, build capacity, work on movement skills, and on-the-wall recovery. Think of the zones as a speedometer: they let you know if you’re driving too fast or too slow, given your workout goals.
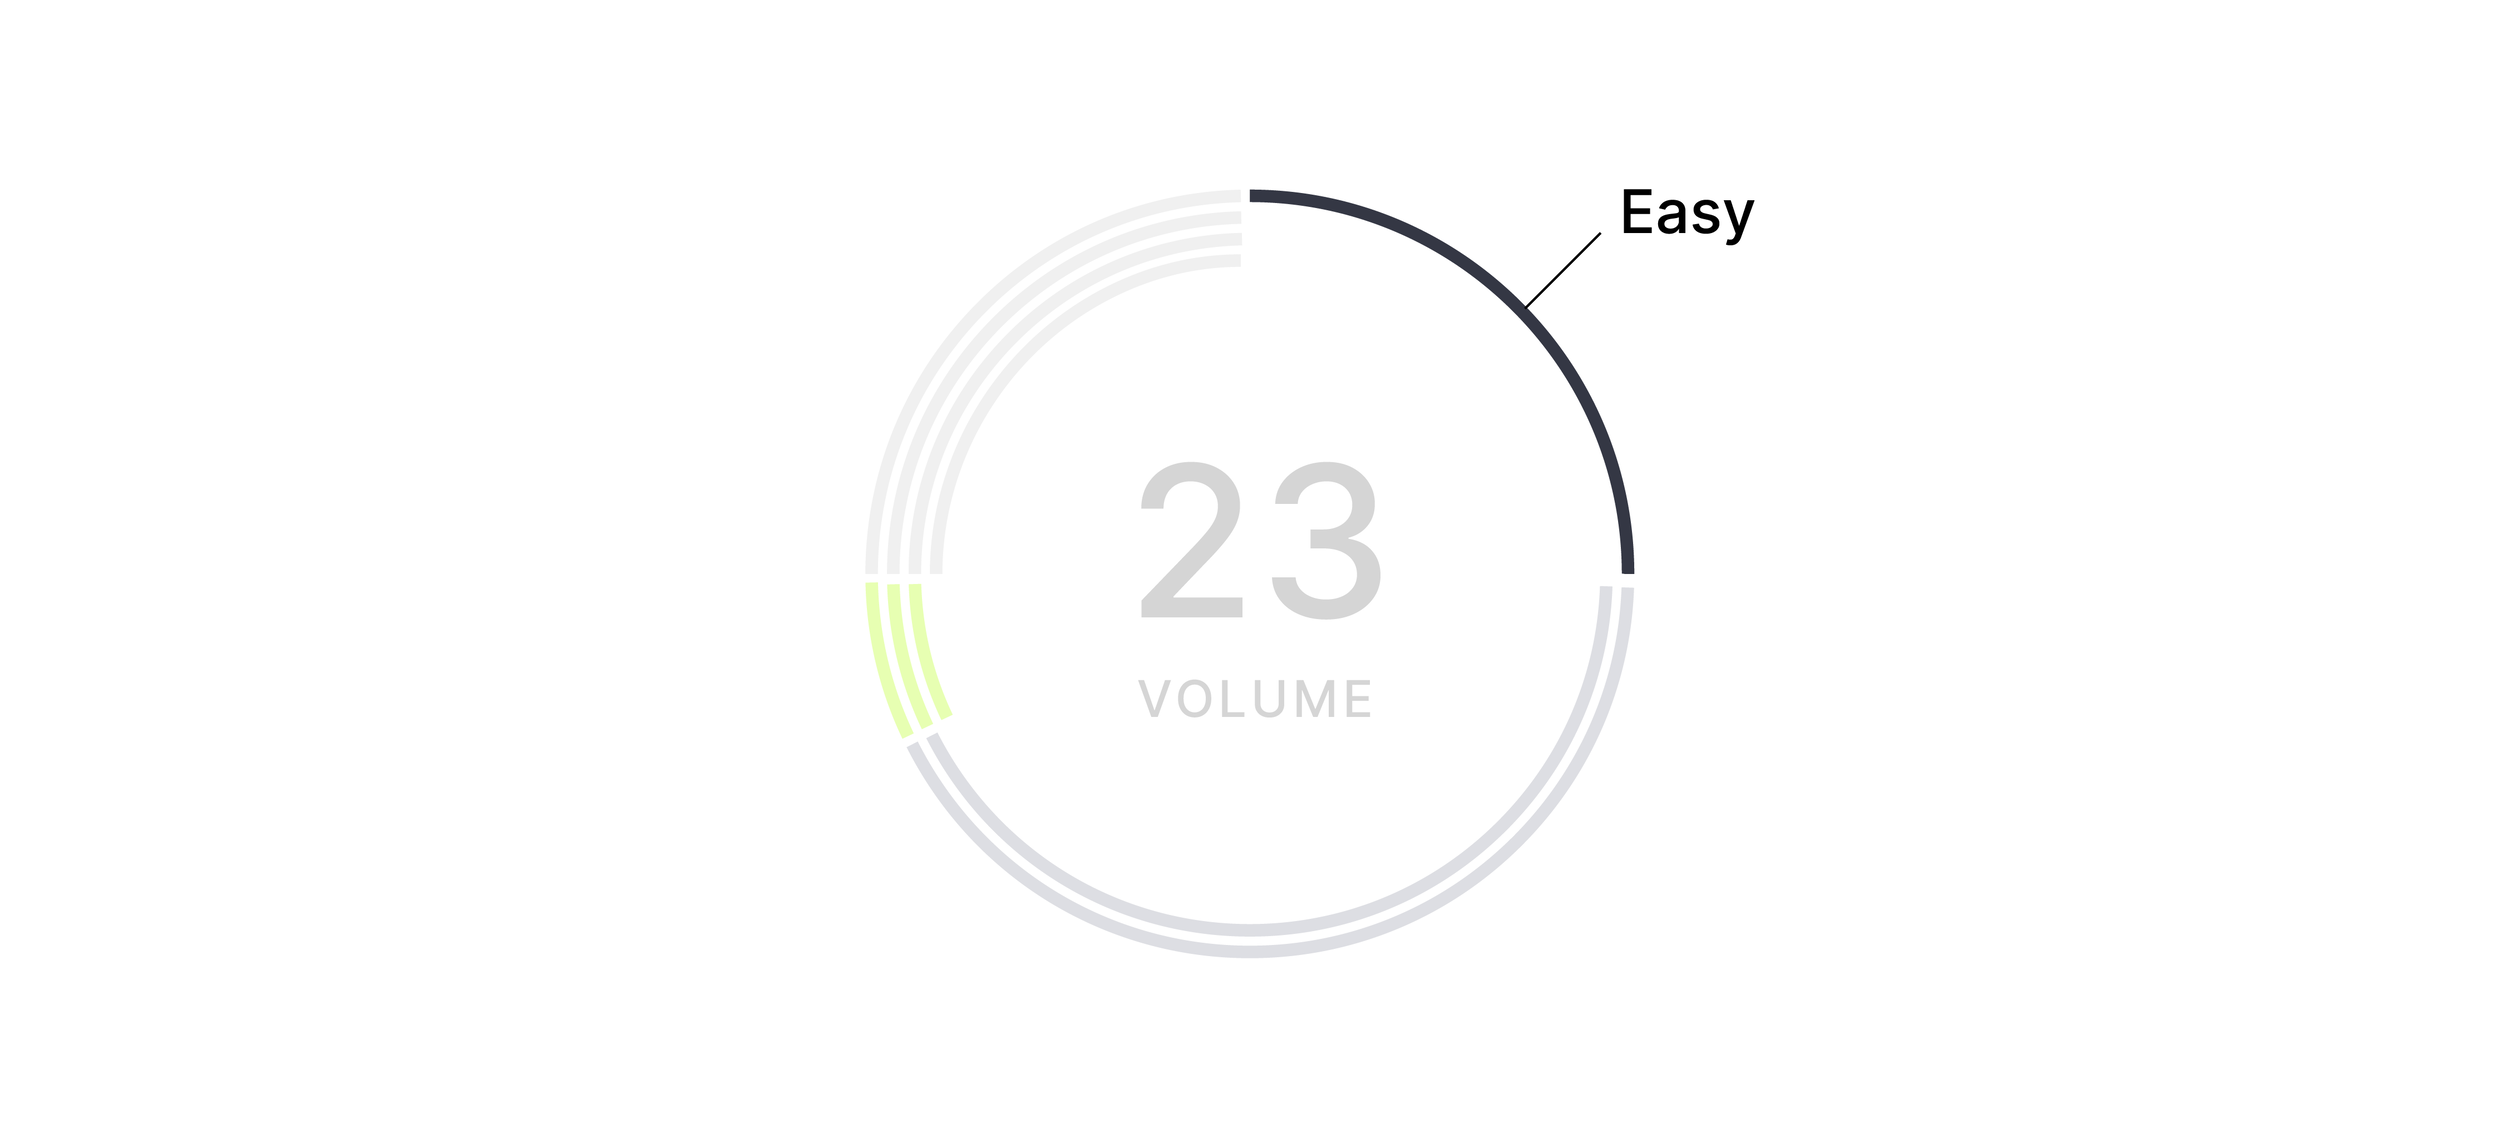
Easy
Easy climbing should be a part of every single session. Climbing in this intensity band can be used as a warmup, cooldown, or as a way of recovering from more intense sessions.

Moderate
Moderate Intensity Zone climbing can be used to reinforce and practice new skills. Additionally, depending on the amount of rest taken between attempts, climbing in this zone can be used to train several specific energy systems. For instance, endurance and power endurance are best trained specifically in this range. With long enough rest between attempts, the Moderate Zone can also be used for active recovery.
There is a high risk of‘ “junk mileage” occurring if you spend too much time in the Moderate Zone since it is often easy enough that you can successfully send climbs even when fatigued or moving poorly. The fatigue that comes from climbing a lot of routes in this Moderate Zone will not do much to make you stronger, more powerful, nor better. It simply trains your body to be able to climb more moderate routes and possibly increases the body’s efficiency at reducing pump.

Hard
This is the single most important place for climbers to spend their time. Climbs in this zone will lead to increases in strength, fitness, and capacity, as well as maximize your rate of learning new movement patterns.
It’s important to only climb in the Hard Zone when recovered and warmed up. Too much time here may lead to overtraining.

Limit
Climbs in the Limit intensity band are the absolute hardest things you can send. Consider these climbs benchmarks of your progression up the grades. Climbing in the Limit Zone often leads to gains in power because the moves are so intense. However, spending too much time there can stunt progression by reducing the amount of new movement patterns and skills you can develop. And you may not be able to climb at a volume necessary to induce a sustainable training effect. Consider the Limit climb to be a special moment to express your best performance. Climbing here is a skill set unto itself and important to develop but treat it as a test of your ability and not a training method itself.